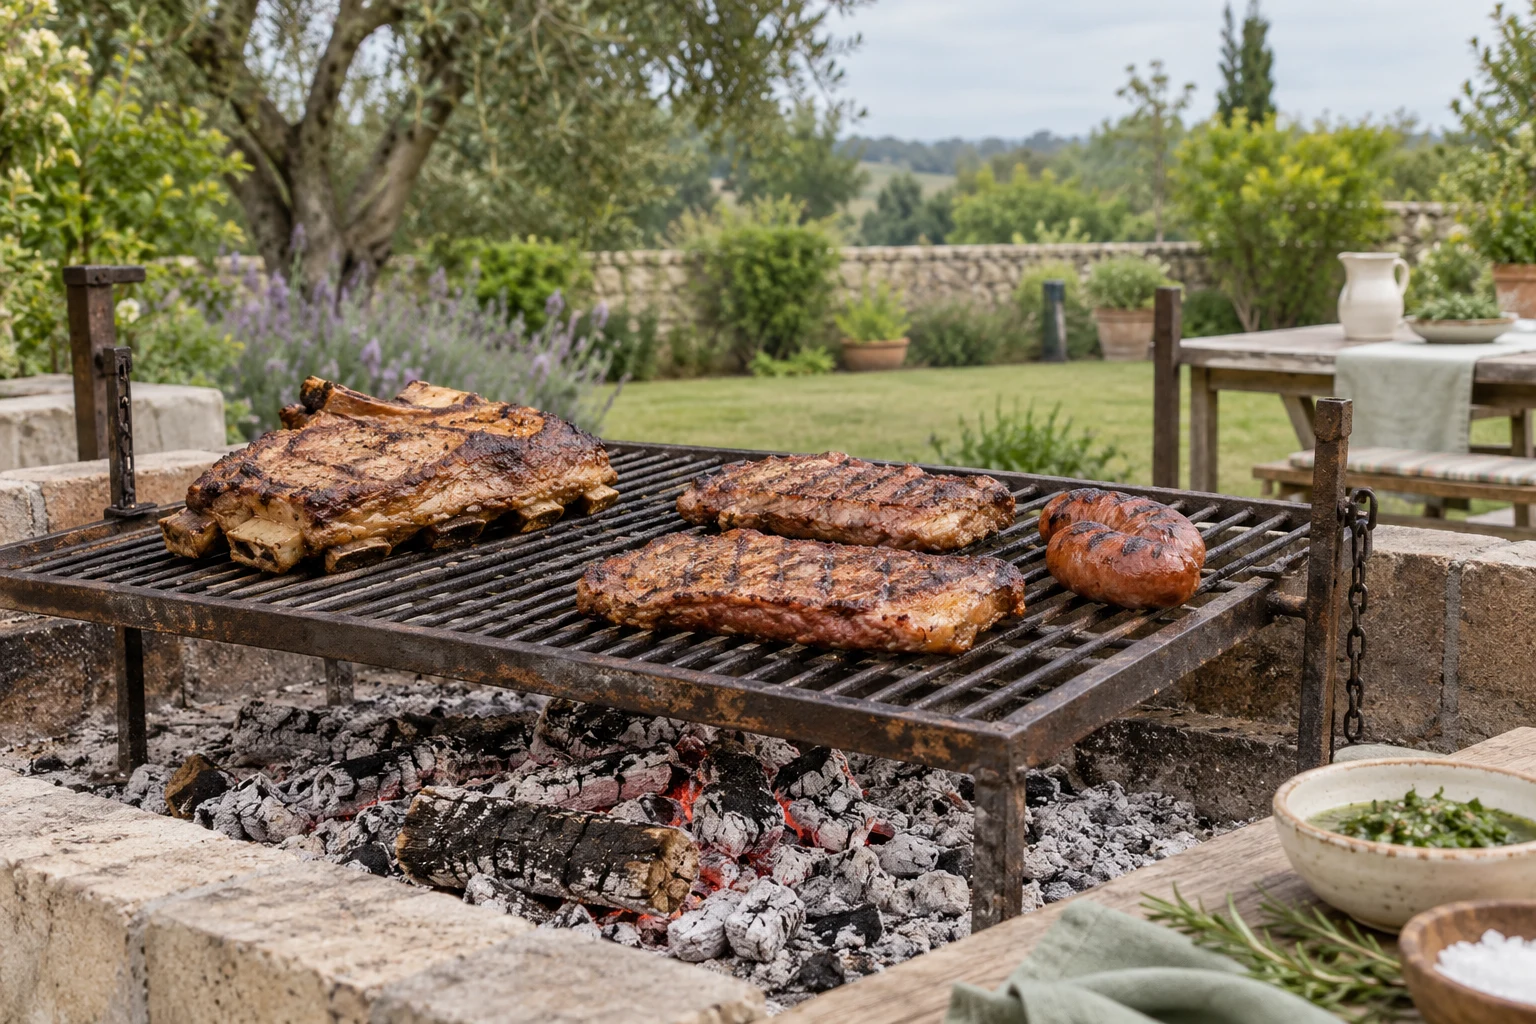
Argentine asado is more useful to a home cook when it is understood as a set of fire and serving decisions rather than a photograph of meat over flames. The tradition has its own cuts, tools, social setting, and regional practices. A backyard grill elsewhere cannot reproduce all of that. It can, however, learn from the emphasis on embers, distance, simple seasoning, patient cooking, and serving in stages.
Fire before food
Open-fire cooking begins by making a reliable heat source. Tall flames are dramatic but difficult to control. A cooking fire needs a useful bed of embers and a way to move heat toward or away from the food. If using wood, allow it to burn down before treating the embers as the main cooking surface. If using charcoal, arrange the fuel so the grill has a strong area and a cooler escape zone.
Keep the fire outdoors with clear distance from structures and combustible materials. Wind changes flame direction and can carry sparks. Use stable equipment, long-handled tools, and a clear place for hot metal. Fire management is part of the cooking method, not a background detail.
Think in distance and timing
An open fire does not offer one uniform temperature. Food closer to the embers cooks faster and browns sooner. Food farther away has more time to warm through. This makes height or lateral distance a practical control. If the surface darkens before the centre is ready, move the food rather than feeding the fire or turning it constantly.
The same idea works on a kettle or gas grill. Use direct and indirect areas, or raise the food with a suitable grate. The equipment changes, but the decision remains: control the rate of cooking by changing the distance between food and energy.
Keep the seasoning deliberate
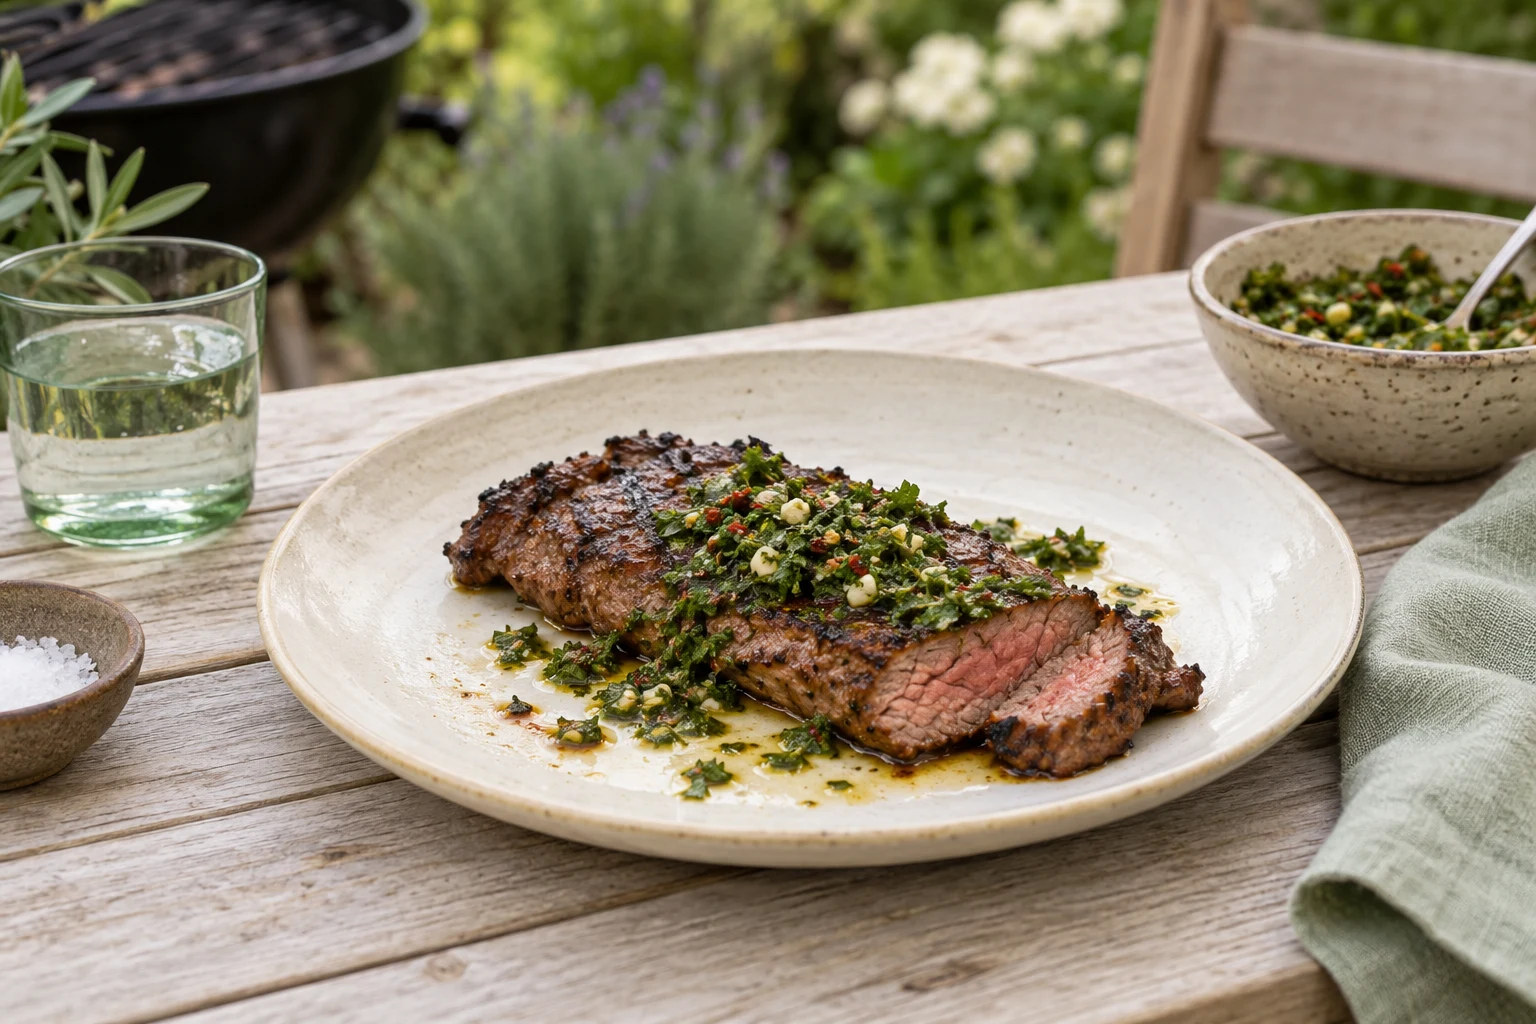
Simple seasoning lets the fire and the food remain visible. Salt, pepper, and a restrained amount of additional flavour can be enough when the cut and ember heat are doing the work. A heavy wet marinade can drip into the fire, create flare-ups, and hide the texture of the meat. If a sauce is wanted, serve it separately or apply it late.
Different foods can be seasoned differently. A thick cut may need time for salt to distribute at the surface. Thin pieces need less time and can become too salty if left heavily seasoned. Dry the food before it meets the grate so the surface can brown rather than steam.
Cook in stages
Open-fire meals are easier when food is cooked in rounds. Put the cut that needs the longest, gentlest treatment near the stable embers first. Add quick-cooking foods later. Hold finished pieces on a clean platter and bring out portions as they are ready. This keeps the cook from forcing every item to finish simultaneously.
Do not crowd the grate. Air and heat need room to circulate, and a crowded fire makes it difficult to move one piece away from a flare-up. If a fatty cut causes flames, shift it to a cooler area and let the fire settle. Never pour water onto a grease fire.
Adapt respectfully at home
A home version should be described as an adaptation. The grill, fuel, cuts, seasoning, and serving customs may differ from those of the original setting. Borrowing the principle of ember control is different from claiming to reproduce a complete regional tradition. Learn the method, name the adaptation honestly, and avoid reducing a living food culture to sauce or smoke alone.
For a first attempt, choose one feature to study: cooking over settled embers, using distance instead of frequent turning, seasoning simply, or serving in rounds. Keeping the experiment narrow makes it easier to see what changed. A small cut is often a better classroom than a large feast.
Use safety as part of the method
Food safety remains independent of cultural technique. Use a thermometer and current official guidance for the specific meat, especially poultry and ground meat. Keep raw and cooked utensils separate, use a clean serving platter, and manage leftovers promptly. Open fire does not make food safe because it looks traditional or because the surface is browned.
Keep guests away from the fire boundary and never leave the cooking area unattended. Ash and embers remain hot after the meal. Follow local fire rules and equipment instructions, and account for wind and dry conditions before starting.
Read the result
If the outside is dark but the centre is late, increase distance or use a cooler zone. If the food is pale and wet, improve drying, heat, or spacing. If smoke is bitter, reduce wood or improve combustion. If the meal feels rushed, start the fire earlier and prepare sides before the first cut reaches the grate.
Write down the fuel, ember condition, distance, cut thickness, turning pattern, and serving order. The notes will show whether the next improvement belongs to the fire, the food, or the schedule. That is the practical inheritance of an open-fire method: learn how heat behaves, then use the observation to serve better.
The serving order is also a heat decision. Bring out the pieces that are ready instead of holding everything over the fire until the last cut catches up. A clean platter, a quiet resting place, and prepared sides let the cook protect texture while still keeping the meal communal.
Sources
- FoodSafety.gov Safe Minimum Internal Temperatures: https://www.foodsafety.gov/food-safety-charts/safe-minimum-internal-temperatures
- USDA FSIS Safe Temperature Chart: https://www.fsis.usda.gov/food-safety/safe-food-handling-and-preparation/food-safety-basics/safe-temperature-chart
- NFPA Grilling Safety: https://www.nfpa.org/education-and-research/home-fire-safety/grilling