Grill temperature is not a number that stays fixed while food cooks. It is the result of fuel, airflow, lid position, weather, food load, and time. The useful skill is not chasing a perfect display. It is recognising whether the fire is gaining or losing energy, making one measured adjustment, and waiting long enough to see the effect.
Begin with the equipment
Learn where your grill measures temperature. A lid thermometer can be above an empty area while the food sits over a hot burner or a bank of coals. A grate-level thermometer gives a better picture of the cooking zone. Compare the two during a calm preheat and note the difference. That simple observation explains many “mysterious” results.
Check vents, burners, fuel, ash, and grease before lighting. Blocked airflow can make charcoal dirty and weak. A full grease tray can create flare-ups. A nearly empty gas cylinder can reduce heat while the cook assumes the vents are wrong. The grill's manual remains the authority for lighting, shutdown, and maintenance decisions.
Understand the four controls
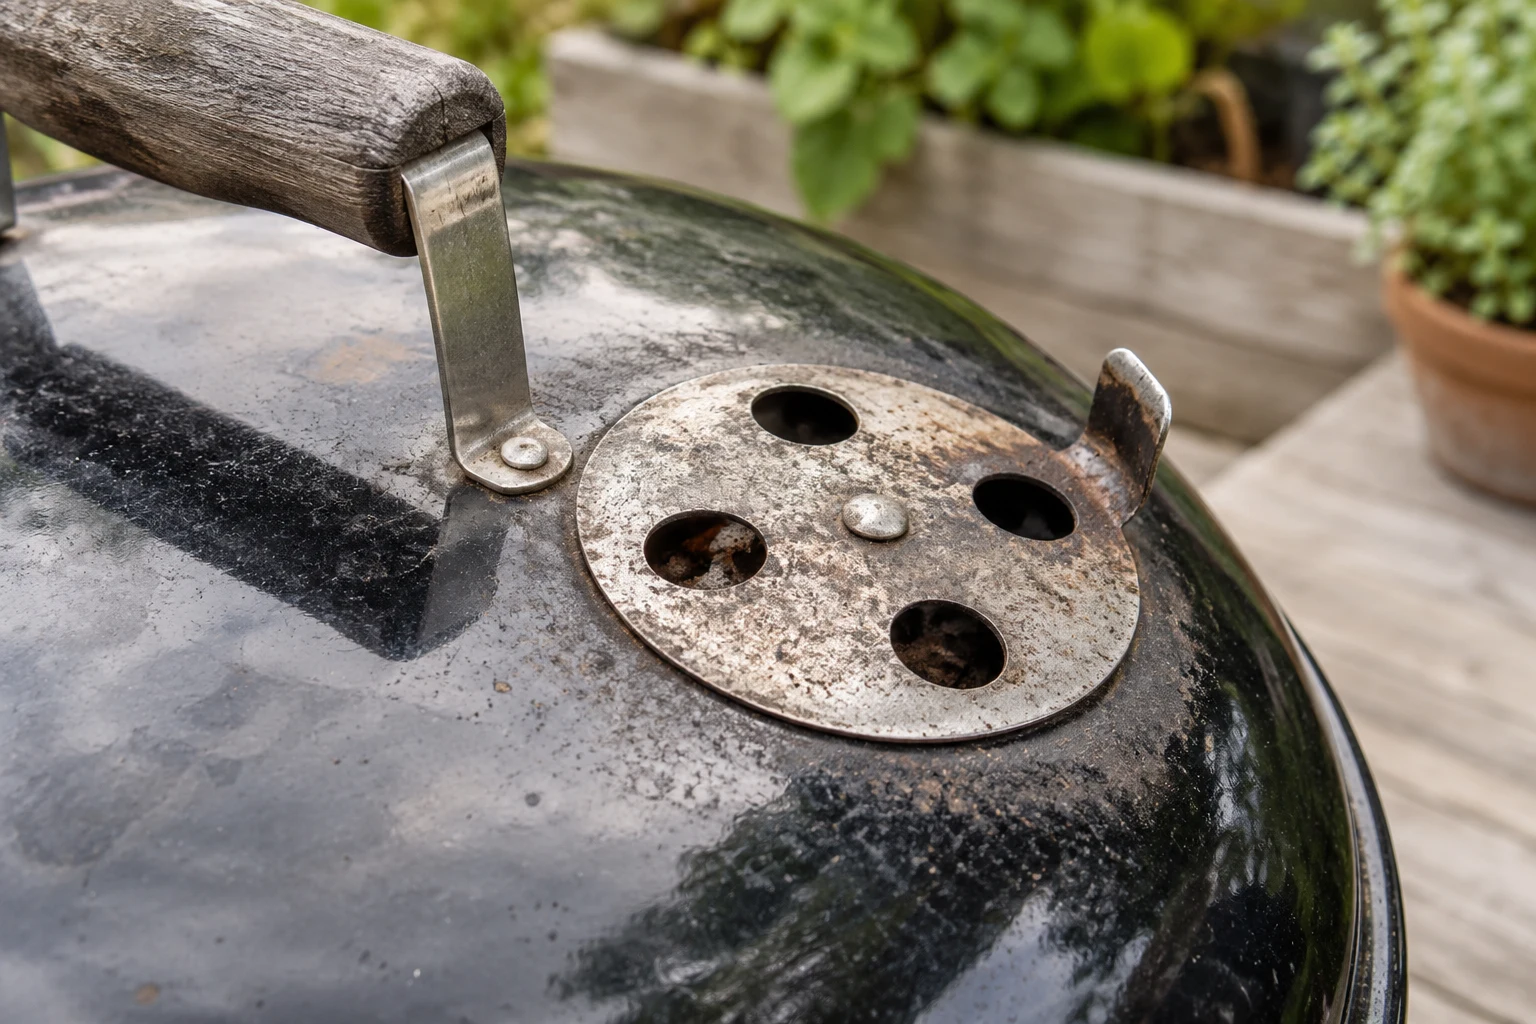
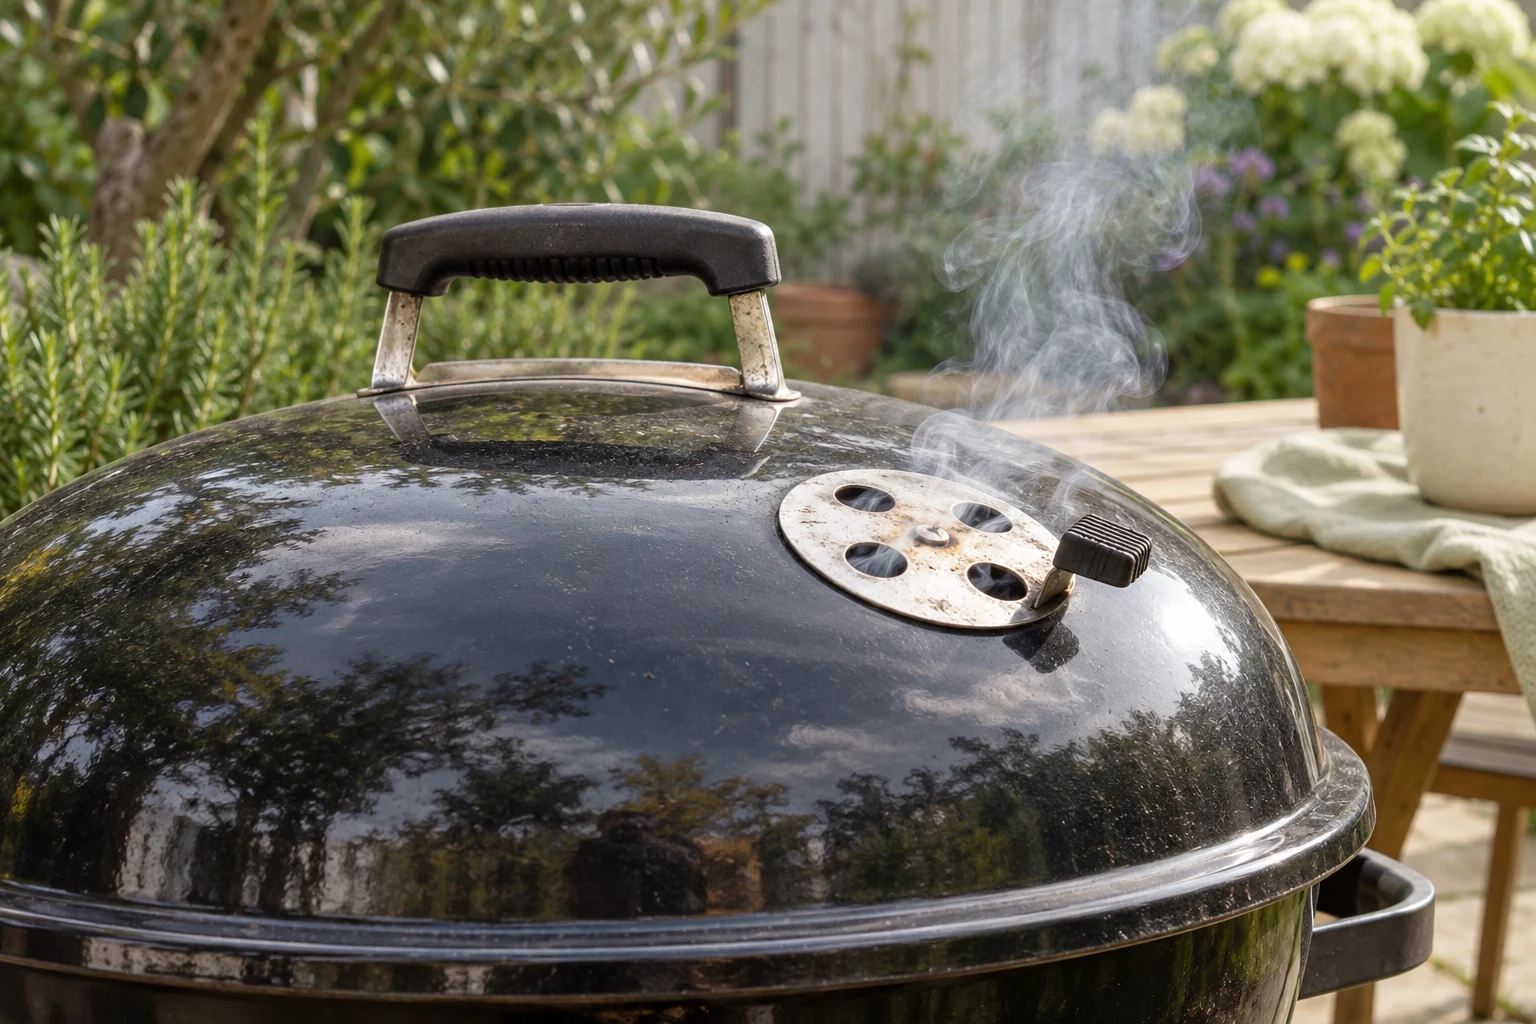
Fuel controls how much energy is available. Adding charcoal, increasing a burner, or feeding a wood fire raises potential heat. Airflow controls how efficiently fuel burns, especially in charcoal and wood cookers. The lid controls heat loss and the circulation of hot air. Food placement controls how directly the food receives the energy.
These controls interact. Opening a lid can feed oxygen to a charcoal fire and also let heat escape. Opening a vent may raise temperature slowly, while adding fuel can raise it sharply. Move food to a cooler zone when the surface is ahead of the centre rather than immediately changing the entire fire. A two-zone layout gives the cook a local control that does not disturb the whole cooker.
Stabilise before cooking
Light the grill and allow it to settle. A charcoal fire that is still producing heavy starter fumes is not ready for food. A gas grill needs time for the chamber and grate to heat. Arrange direct and indirect areas before the first ingredient arrives. If the grill is already unstable during preheat, adding food will not make it stable.
Use a moderate range appropriate to the food. Thin items can tolerate faster heat; thick cuts need time and a cooler route. Do not set every burner to maximum simply because the grill is slow to preheat. Excessive heat can make the grate hot while leaving the cook with no useful finishing zone.
Make one change at a time
If the temperature is low, first decide whether the problem is fuel, airflow, lid position, or measurement. If the fuel is sound and the lid is closed, make a small vent or burner change and wait. If it is high, reduce the heat source or restrict airflow according to the cooker design, then wait. Large changes followed by more large changes create oscillation: the fire overshoots, the cook overcorrects, and the food experiences both extremes.
The response time depends on the equipment. Metal retains heat, charcoal responds gradually, and gas burners react quickly. Do not judge a charcoal vent adjustment after a few seconds. Do not leave a gas grill at maximum while waiting for an imaginary delay. Learn the rhythm of the specific cooker through small tests.
Use the food as a second thermometer
Numbers describe the air, but the food shows the rate of cooking. A surface that is browning too quickly needs less direct exposure or more distance. A pale, wet surface may need more heat, better drying, or more space. A flare-up needs movement to the cooler zone and fire control, not frantic turning over the flame.
Use the lid when the food needs chamber heat, but avoid opening it to inspect every minute. Each opening releases heat and changes airflow. Look when a real decision is due: turning, moving zones, checking internal temperature, or adding a finishing element. Have tools ready so the lid is open for seconds, not minutes.
Control common grill situations
Wind can pull heat from an outdoor grill or feed a charcoal fire. Rain and cold air can extend preheat time. A full grate can reduce circulation and create different temperatures at opposite ends. Fatty foods can cause local flare-ups even when the overall chamber temperature is reasonable. Treat each as a different problem rather than solving everything by adding fuel.
For flare-ups, move food away from the direct heat, close the lid when safe, and reduce the fuel or burner according to the grill instructions. Never pour water onto a grease fire. For a cool grill, check the fuel and airflow before adding more. For a hot surface with an underdone centre, use indirect heat and a closed lid rather than increasing the flame.
Verify doneness separately
Grill temperature does not prove food safety. Use a food thermometer at the thickest part and follow current FoodSafety.gov and USDA FSIS guidance for the specific food. Poultry, ground meat, and fish should not be judged only by colour. Keep raw and cooked tools separate and use a clean platter after cooking.
For texture-driven foods such as ribs, temperature is one signal among several. Combine it with probe resistance, flexibility, and the surface condition. A fixed cooker number cannot tell you whether connective tissue has softened or whether a delicate fillet is about to fall apart.
Keep a useful log
Record fuel, vent or burner settings, weather, grate temperature, food placement, lid openings, and the result. The aim is not perfect scientific measurement. It is to give the next cook a better starting point. If the centre was late while the surface burned, use a cooler zone or lower the heat. If the food was pale and dry, improve preheat, surface dryness, or finishing heat.
Temperature control becomes predictable when the grill is treated as a system. Fuel supplies energy, airflow shapes combustion, the lid preserves or releases heat, and food placement determines how quickly the surface responds. Change one control, wait, observe, and let the next cook be informed by what the last fire actually did.
Sources
- FoodSafety.gov Safe Minimum Internal Temperatures: https://www.foodsafety.gov/food-safety-charts/safe-minimum-internal-temperatures
- USDA FSIS Safe Temperature Chart: https://www.fsis.usda.gov/food-safety/safe-food-handling-and-preparation/food-safety-basics/safe-temperature-chart
- NFPA Grilling Safety: https://www.nfpa.org/education-and-research/home-fire-safety/grilling