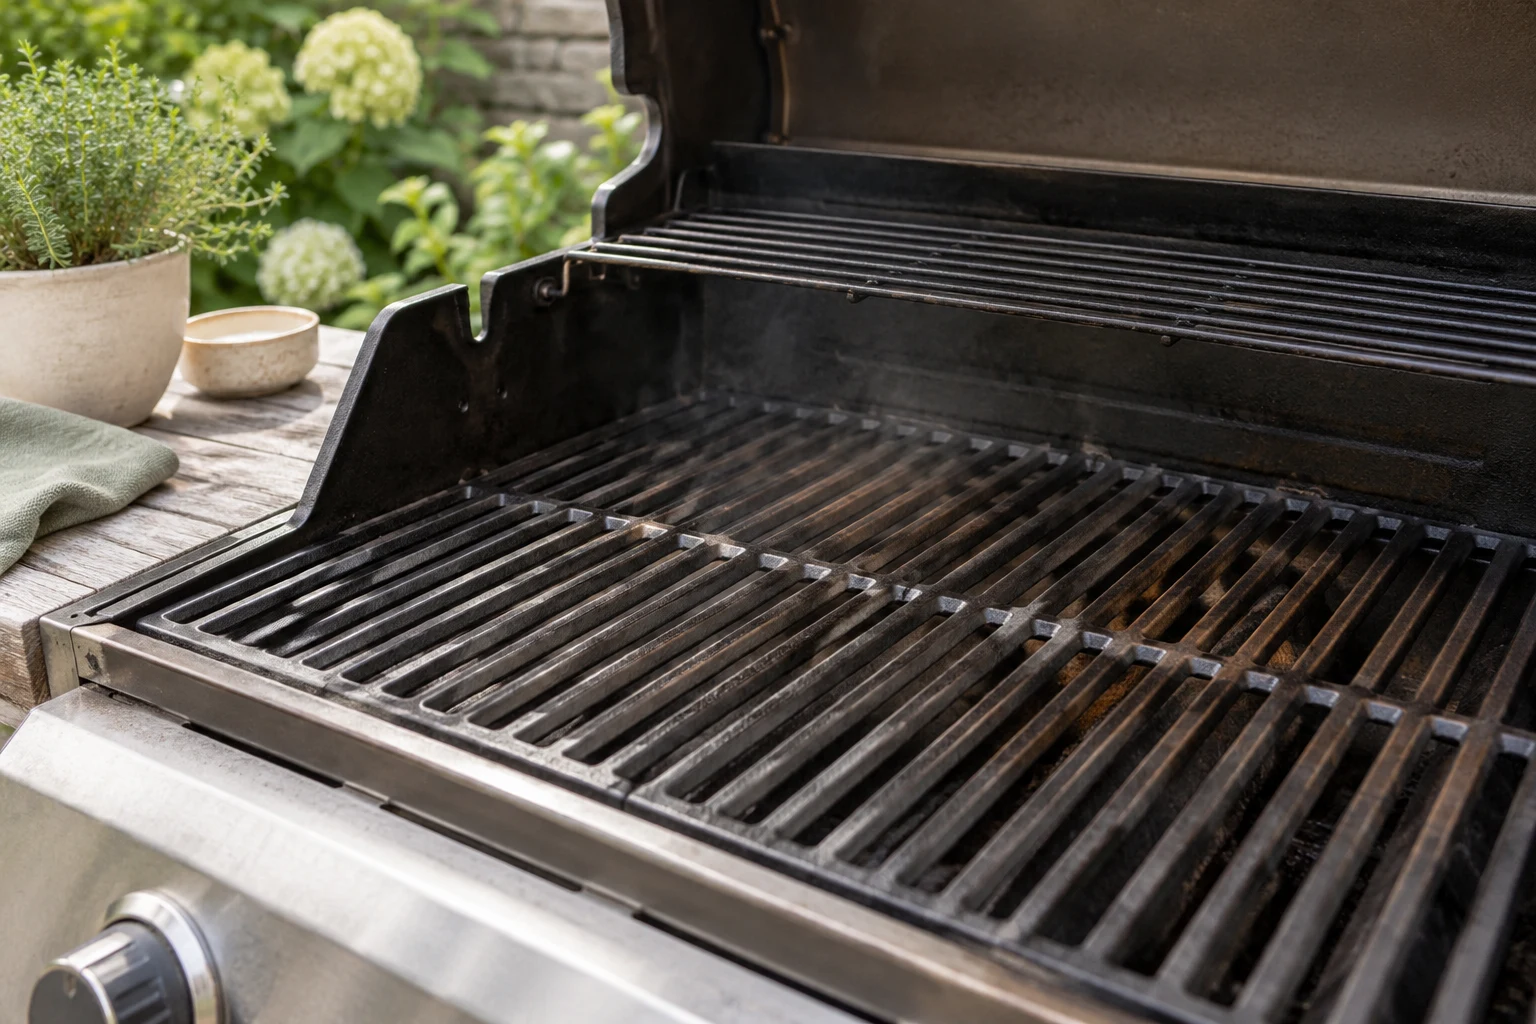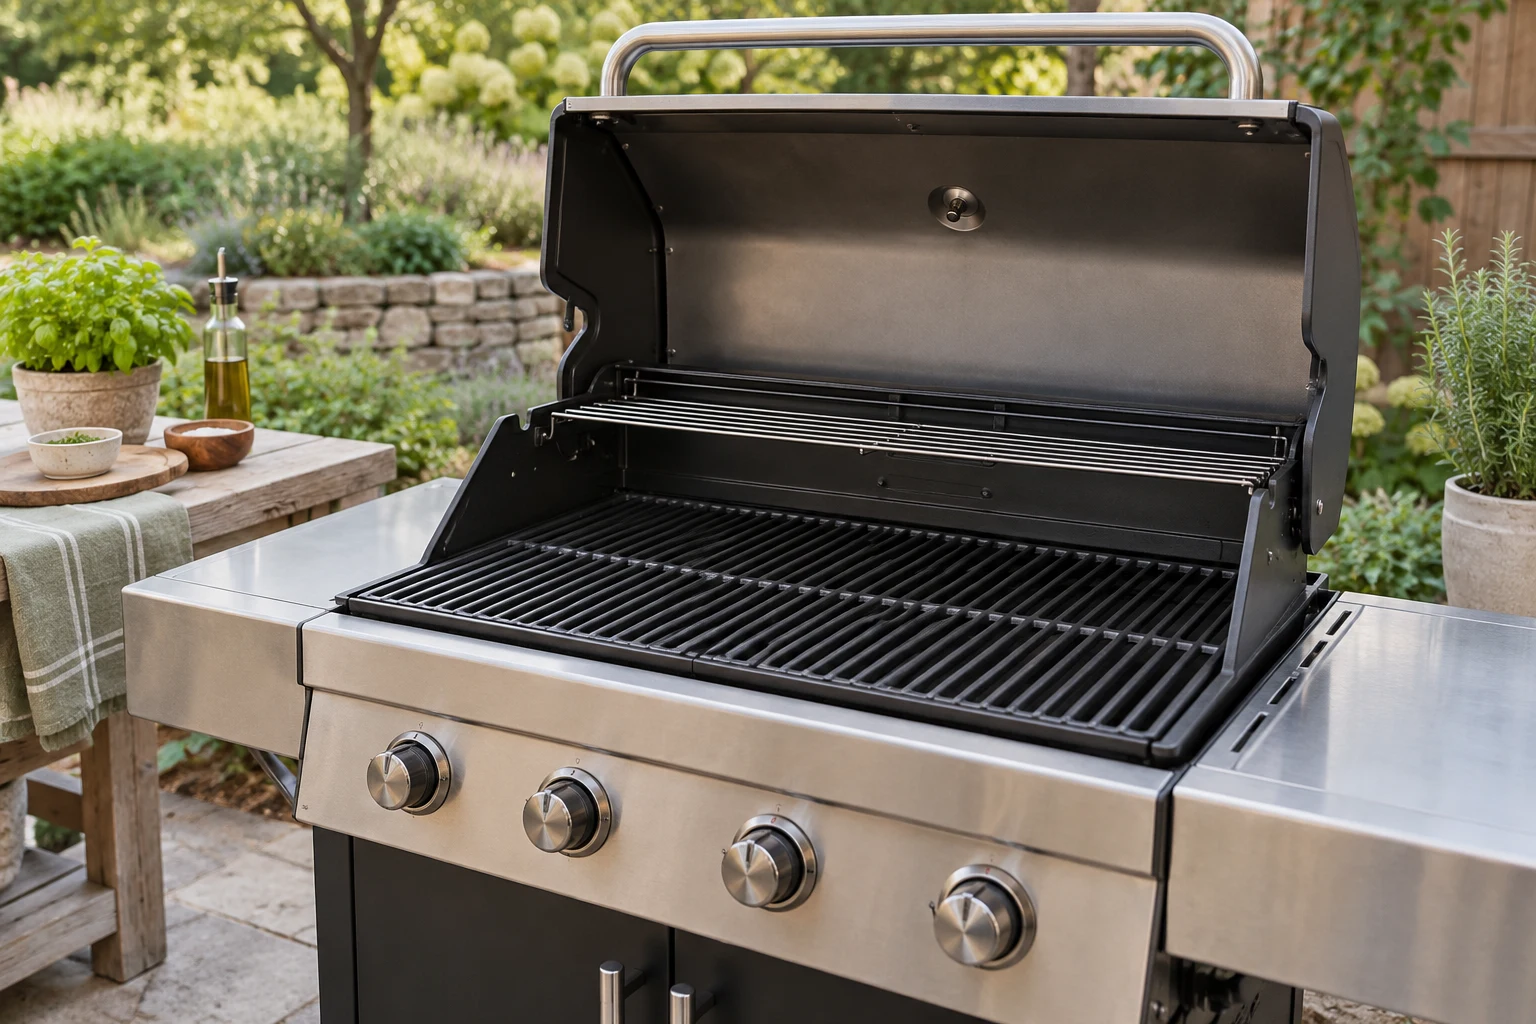
Preheating is more than turning a knob or lighting charcoal. It is the short period in which the grill becomes a usable cooking environment: the grate heats, residue loosens, airflow settles, and the cook decides where food will go. A rushed preheat often produces sticking, pale food, flare-ups, and uneven cooking because the surface and the fire are not ready at the same time.
Start with a clean, safe setup
Before lighting anything, place the grill in an open outdoor area with stable footing and clear space around it. Check that the lid, grate, vents, burners, and fuel connections are in working condition. Keep raw food, tools, and a clean serving plate separate from the hot zone. The fire should never be used in an enclosed space, and fuel should be handled according to the equipment instructions.
Remove loose scraps from the previous cook. A cold grate is easier to inspect and clean safely. If the grill has a grease tray, check that it is not full. A preheat can loosen old fat; if that fat reaches a flame, the result is a flare-up before the food even arrives.
Preheat gas and charcoal differently
On a gas grill, light the burners according to the manufacturer's instructions, close the lid, and allow the chamber and grate to heat. A closed lid helps the air and metal warm together. Avoid turning every burner to maximum unless the equipment and the food plan call for it. A high setting can make the grate extremely hot while leaving the cook without a useful cooler zone.
On a charcoal grill, the preheat begins with the fuel. Light the coals safely and wait for the fire to develop rather than placing food over black charcoal that is still producing heavy starter fumes. When the coals are hot and the surface is beginning to ash, arrange them for the intended heat pattern. A two-zone layout is usually more useful than an even layer because it gives food somewhere to move.
Wood-fired cooking needs the same patience. Let flames settle into a bed of embers before treating the area as a cooking surface. Tall flames can char food while the metal or grate remains unevenly heated. The fire should be predictable enough that a move away from the hottest area is possible.
Heat the grate, then clean it
Once the grill has reached a useful heat, brush the grate with a suitable grill brush or cleaning tool. The purpose is to remove loosened residue, not to scrape aggressively until the metal is damaged. Inspect the surface for loose bristles or debris according to the tool guidance. A clean grate supports browning and reduces the chance that yesterday's food will become today's burnt flavour.
Oil the food lightly rather than pouring oil onto the grate. Oil on the grate can drip into the fire and produce smoke or flame. For fish, vegetables, and lean meat, a thin coating on the food helps reduce surface drying. It cannot compensate for a cold, dirty, or damaged grate, so treat oil as one small part of preparation rather than the complete anti-stick method.
Use temperature as a guide, not a single truth
The lid thermometer shows the air near its probe, not necessarily the temperature at the food. A grate-level thermometer gives a more useful reading. The surface temperature also changes with wind, lid position, food load, and the number of times the grill is opened. Let the grill settle after each major adjustment before deciding that it is too hot or too cool.
Choose the heat pattern based on the food. Thin vegetables, burgers, and steaks may start over direct heat. Thick chicken, roasts, ribs, and foods prone to flare-ups need indirect space. If you intend to cook several foods, preheat the whole grill but arrange the zones before food is added. Trying to build a cooler zone after a flare-up has already started is harder and less safe.
Match the preheat to the meal
A short, hot preheat is useful for a quick sear, but a thick cut needs a plan for finishing away from direct heat. A longer moderate preheat may suit vegetables and chicken pieces because it gives the chamber time to stabilise. Planks, baskets, and cast-iron pans have their own heating requirements; place them on the grill only when their material and the manufacturer's instructions allow it.
Do not put cold, wet food on a grate simply because the grill has reached a number. Pat food dry where appropriate, remove excess marinade, and have the serving area ready. Moisture on the surface delays browning and can create steam. A heavy sugar coating can burn during a very hot preheat, so apply sweet glazes late unless the recipe specifically requires otherwise.
Recognise a failed preheat
A grill that cannot hold a stable temperature may have a fuel, airflow, burner, or maintenance problem. A sudden flame may indicate grease or excess oil. Heavy white smoke may indicate damp fuel, poor combustion, or too much wood. If the grate is hot in one small area and cool elsewhere, learn the pattern before cooking a large meal or reduce the load until the equipment is understood.
When a grill is too hot, do not keep opening the lid and making random changes. Reduce fuel or burner output, close vents in a controlled way if appropriate, and wait. When it is too cool, check fuel and airflow before adding more. One adjustment followed by observation teaches more than several simultaneous corrections.
Add food and protect the heat
Place food deliberately, leaving room for air and a clean turn. Close the lid when the cooking method needs chamber heat. Resist the urge to move food immediately; a hot, clean surface needs time to form a crust before the food releases. Keep a cooler zone available for flare-ups or for food that is browning faster than it is cooking through.
Use a thermometer for the safety decision. FoodSafety.gov and USDA FSIS guidance should determine safe internal temperatures for the specific food. Colour and grill marks are useful observations, but they cannot replace a temperature check for foods such as poultry and ground meat. Keep raw-food tools away from cooked food and use a clean platter for serving.
Record the setup
After the meal, note the fuel, weather, preheat length, grate-level temperature if available, zone arrangement, and whether the food browned evenly. If food stuck, ask whether the grate was hot and clean, the surface was dry, and the food was moved too early. If food burned, ask whether direct heat was appropriate for its thickness. A good preheat is not a fixed number of minutes; it is a repeatable state you can recognise.
Sources
- FoodSafety.gov Safe Minimum Internal Temperatures: https://www.foodsafety.gov/food-safety-charts/safe-minimum-internal-temperatures
- USDA FSIS Safe Temperature Chart: https://www.fsis.usda.gov/food-safety/safe-food-handling-and-preparation/food-safety-basics/safe-temperature-chart
- NFPA Grilling Safety: https://www.nfpa.org/education-and-research/home-fire-safety/grilling