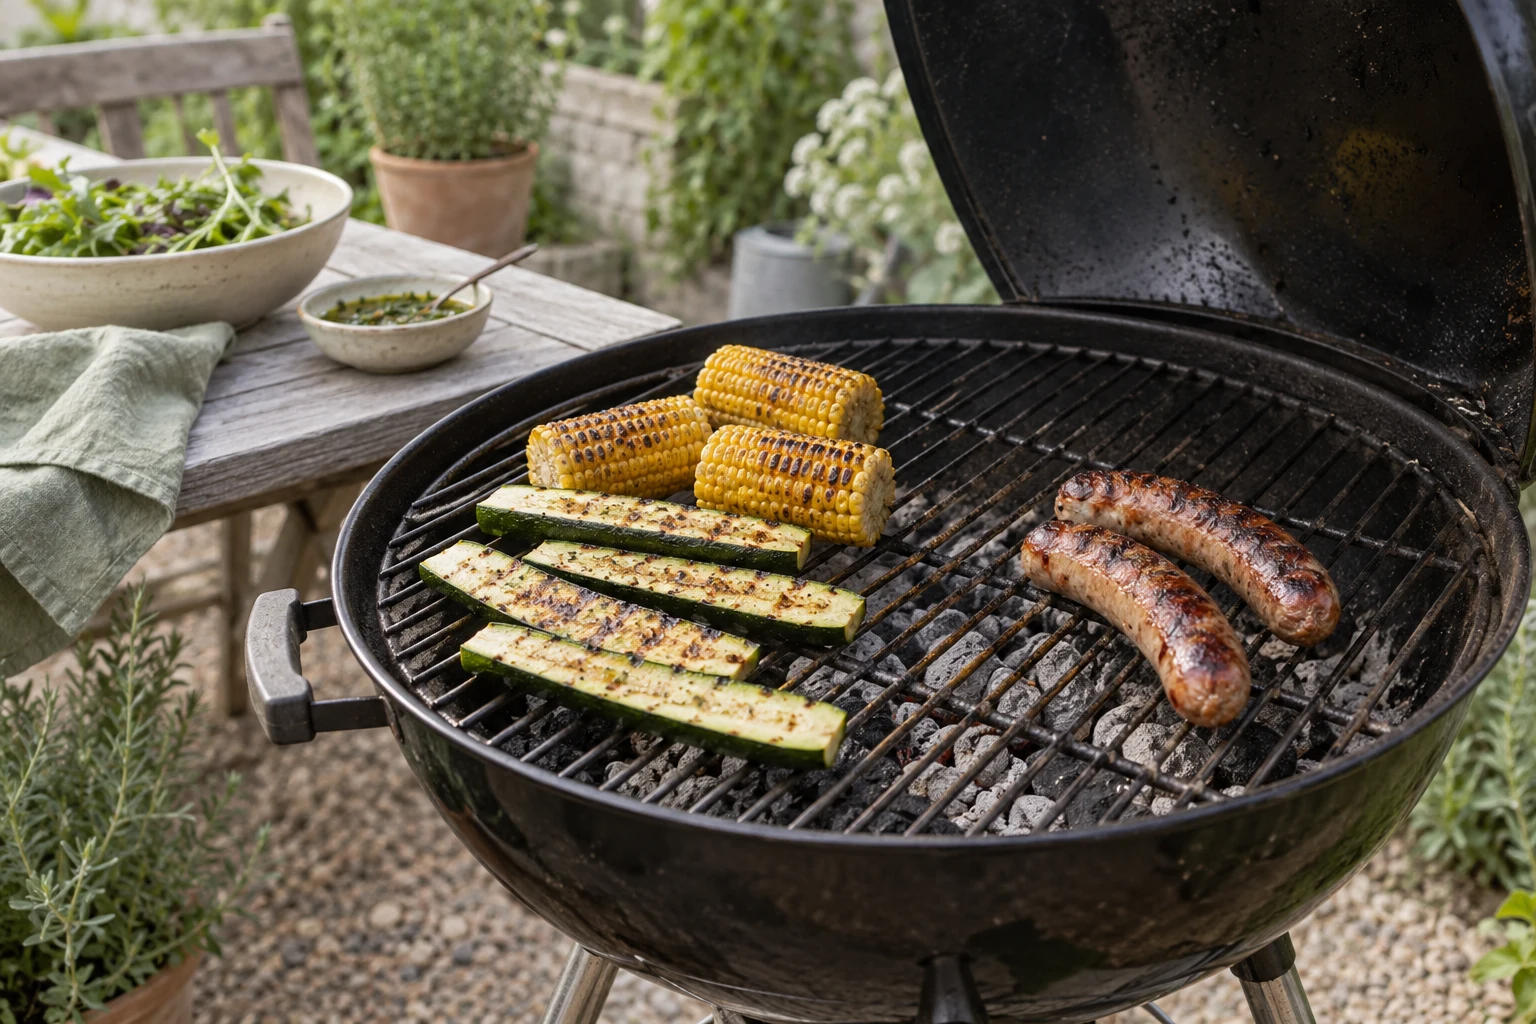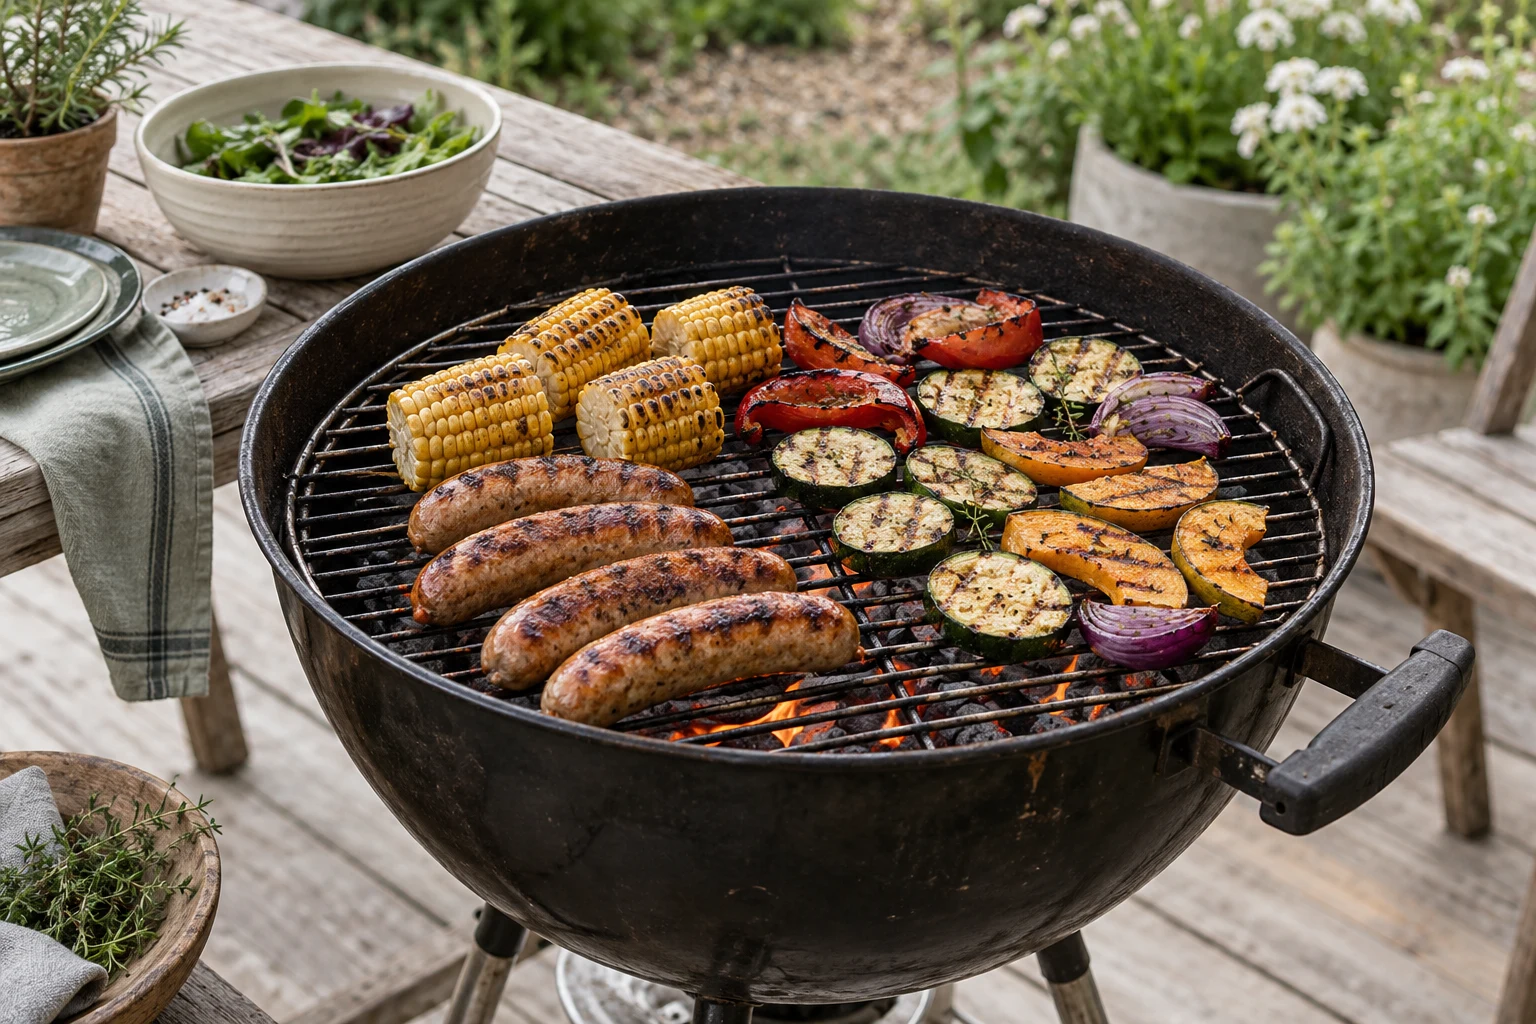
Cooking outside rewards preparation because the environment will not wait. Set up the fire, the work surface, and the serving plan before guests become hungry. One-grill meals work when foods are staged by heat need: long indirect items first, quick direct items last, and sides planned around empty grate space.
Start with a menu that fits one grate
Choose one main protein, one substantial side, one quick vegetable, and a finishing item such as bread or corn. The menu should include foods with different heat and timing needs, not four foods that all demand the hottest part of the grill at once. A thick chicken piece can use indirect heat while vegetables finish directly. A steak can rest while bread takes the grate.
Write down the desired serving time and work backwards. Include preheating, fuel recovery, resting, and plating. If the menu cannot fit on paper without overlapping steps, remove an item or prepare it indoors. A one-grill meal is successful when the cook can see and move every piece.
Build the heat zones
For charcoal, arrange fuel so one side gives direct heat and the other gives a gentler indirect zone. For gas, use one or more burners for a hot area and leave another area off or low. Preheat the cooking surface and clean it with an appropriate tool. Keep a cooler zone available for flare-ups, holding, and finishing thick food.
Do not treat the lid as a timer. Heat recovery changes with wind, fuel amount, food load, and how often the lid opens. Make one adjustment, wait for the grill to respond, and observe the result. A stable zone is more useful than chasing a precise dial position.
Stage food by durability
Begin with food that benefits from time and can tolerate a short hold. Dense vegetables, larger chicken pieces, and covered sides belong earlier in the plan. Add quick vegetables and thin foods later. Keep raw ingredients chilled until the grill is ready and use separate trays for raw and cooked food.
If the main is thick, brown it over direct heat and then move it to indirect heat to finish. If the surface is browning too quickly, move it immediately rather than waiting for the centre to catch up. Put cooked food on a clean platter and allow the appropriate rest; do not use the raw tray as a resting surface.
Use a simple timing map
An example sequence is: prepare the table, preheat, start the slow protein, turn or rotate it once the surface sets, add the substantial side, check internal temperature, move the protein to rest, then finish bread or quick vegetables. The exact minutes depend on food thickness and equipment, so the map should describe decisions rather than promise a universal schedule.
Leave recovery space between batches. Crowding lowers heat and makes it difficult to move food away from flames. If the grill is small, cook the main in stages and keep finished pieces protected briefly rather than forcing every ingredient onto the grate at once.
Control flare-ups and cross-contact
Fat, sugary sauces, and grease can create sudden flames. Move food to the cooler zone, close the lid only when the equipment instructions support that response, and control the fuel source. Never pour water onto burning grease. Keep a suitable fire-safety plan nearby and position the grill away from structures, overhangs, and dry materials.
Use separate utensils and platters for raw and cooked food. A clean thermometer should be inserted into the thickest part, away from bone and the grate. Follow current FoodSafety.gov and USDA FSIS guidance for the specific food. Grill marks and a fixed cooking time cannot prove that poultry, ground meat, or fish is safe.
Finish quick foods after the main moves
When the main reaches the correct internal temperature, move it to a clean platter and cover or rest it according to the recipe. Use the newly available direct zone for bread, corn, mushrooms, or sliced vegetables. This gives the quick food a hot surface without making the protein wait over an active fire.
Season quick foods in a way that matches the meal. A bright dressing can balance smoky meat; a sweet glaze should be applied late so it does not burn. Keep delicate ingredients away from the hottest flare-up path and turn them with a tool that will not tear the surface.
Serve without losing control
Set out plates, sauces, and clean serving tools before the final stage. Place rested meat where it can be sliced safely and replenish sides in smaller portions. Keep perishable food protected and return leftovers to safe storage according to current official guidance. The final five minutes can undo good cooking if raw tools, hot pans, and serving platters are mixed.
Learn from the meal
After serving, record which item controlled the schedule, how the grill recovered after opening, where the hot spot was, and which side competed for space. If the main was late, begin it earlier or use a smaller piece. If vegetables burned, move them to indirect heat or use a basket. If the meal felt rushed, prepare one additional component ahead instead of increasing the menu.
A full barbecue meal on one grill is not a test of how much food can fit at once. It is a test of sequencing. The cook uses heat zones, clean tools, resting time, and a short written plan to make one surface behave like several cooking stations. That approach scales to different fuels, menus, and guest counts without depending on a single recipe.
Sources
- CDC Preventing Food Poisoning: https://www.cdc.gov/food-safety/prevention/index.html
- USDA FSIS Leftovers and Food Safety: https://www.fsis.usda.gov/food-safety/safe-food-handling-and-preparation/food-safety-basics/leftovers-and-food-safety
- FoodSafety.gov How to Grill Safely: https://www.foodsafety.gov/blog/how-grill-safely-summer