A grill can cook ribs well when it is used as a small oven rather than a flat pan over constant flame. The challenge is to create a hot zone for browning, a cooler zone for time, and enough lid control for the meat to soften without burning. The method is less about a magic temperature than about matching heat, rack thickness, and tenderness.
Prepare the rack and the grill
Spare ribs and baby back ribs behave differently. Spare ribs are generally larger and meatier; baby backs are smaller and can reach tenderness sooner. Trim loose flaps and hard fragments that will burn. If a membrane remains on the bone side, lift a corner and remove it carefully, or ask the butcher to do it. A neat rack is easier to season, move, and slice.
Season with enough salt and spice to support the meat. A thick sugary layer can darken before the ribs soften, especially over a gas grill with a hot spot. Keep the seasoning dry enough to form a surface rather than a wet paste. Prepare a clean tray, tongs, a thermometer, and a clean serving board before the grill is lit.
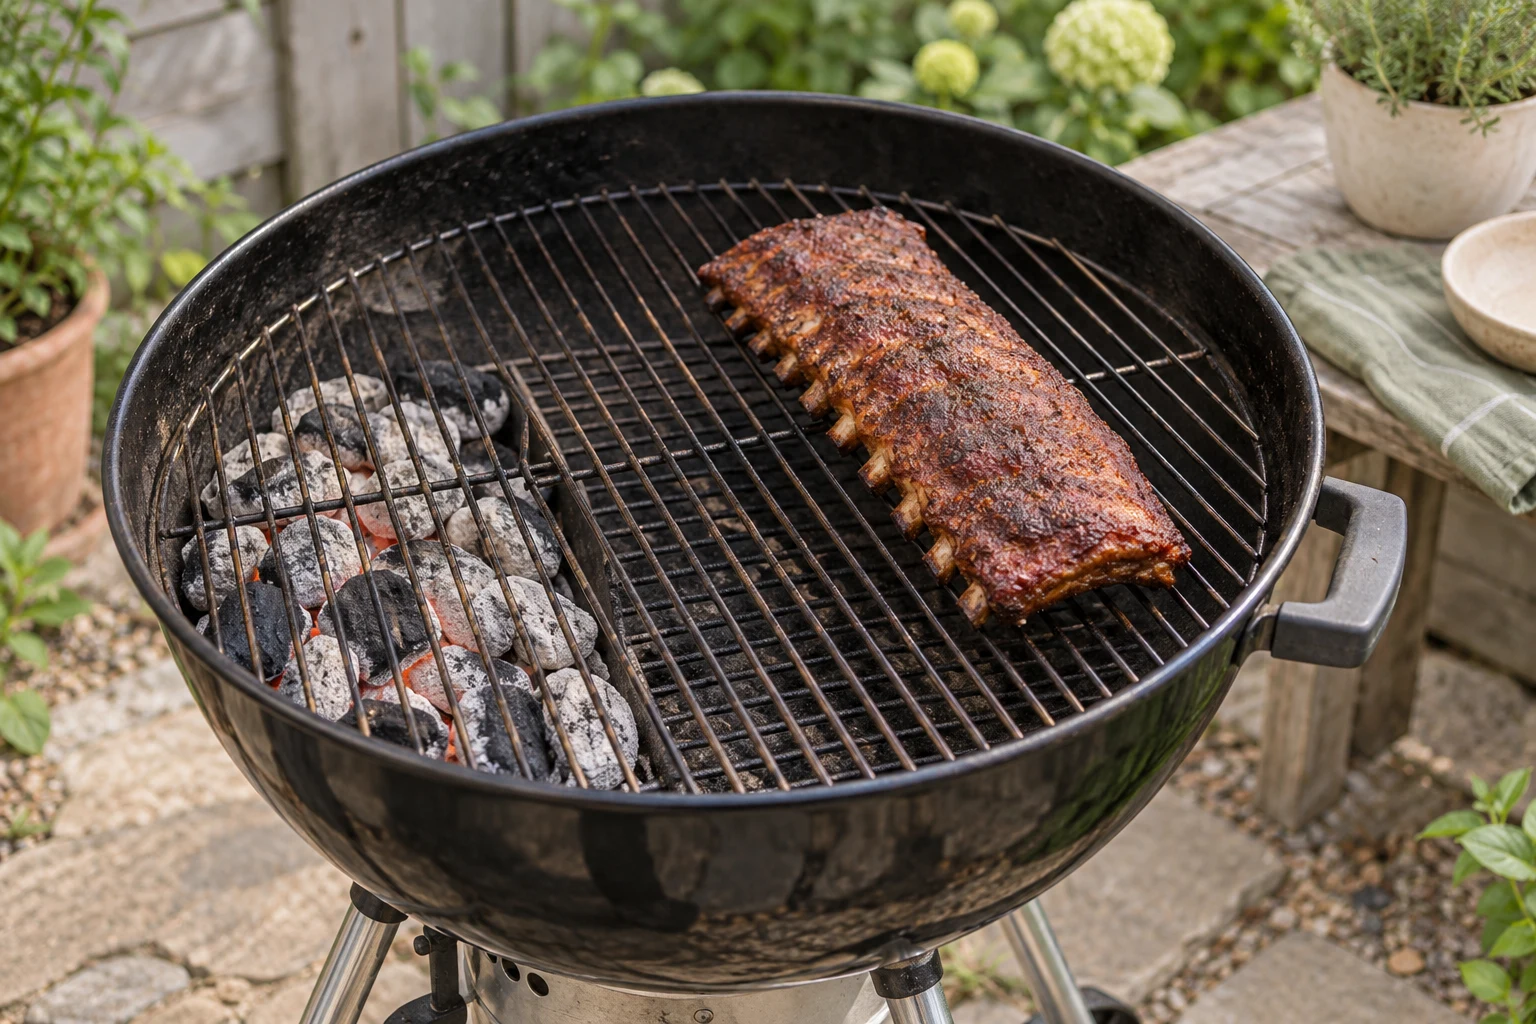
Clean the grate and preheat the grill. Build two zones: direct heat on one side and indirect heat on the other. On a gas grill, use one or more burners and leave the area under the ribs unlit. On charcoal, bank the coals to one side. Place a drip pan where it will not block the airflow. The lid needs to close fully so the grill can circulate heat around the rack.
Begin with indirect heat
Place the ribs bone-side down in the cooler zone. The goal of this stage is gentle cooking and surface development, not immediate charring. Keep the lid closed and let the grill recover after the rack goes on. If the temperature rises sharply, reduce the burner or close the vents slightly; if it falls, add fuel or adjust airflow in a measured way.
The hottest part of the grill may not be where the lid thermometer suggests. Watch the food and learn the grate. If one end darkens quickly, rotate the rack once when the grill has recovered. Do not keep moving it every few minutes. Frequent lid openings cost heat and make the cook longer.
Wood chips are optional. If you want smoke, start with a small amount and use a method appropriate for the grill and fuel. Smoke should support the ribs, not cover them with a bitter, heavy taste. Thick white smoke is a signal to improve combustion or reduce the wood load.
Use wrapping as a control, not a ritual
After the surface has developed colour and the ribs have spent enough time in stable heat, decide whether wrapping will help. Wrapping can protect a darkening surface and speed softening. It can also soften the bark and make the texture less dry on the outside. If you wrap, keep the package tight and return it to indirect heat. Avoid adding so much liquid that the rack steams in a pool.
The grill does not know a fixed timetable. A thin baby-back rack in a hot, stable cooker can finish before a thick spare-rib rack in cool weather. Use a clock to schedule checks, not to declare the ribs done. When the rack becomes flexible and a probe meets little resistance in the meat between the bones, it is approaching tenderness.
Finish over controlled heat
Unwrap when the ribs are tender enough that the surface can be finished without prolonged exposure. If using sauce, brush on a thin layer and return the rack to indirect heat or a carefully controlled direct zone. Sugar can burn quickly. The finish should set and become glossy, not blacken while the centre remains tough.
Use direct heat only for a short final colour step. Keep tongs ready and leave a cooler place to move the rack if fat causes a flare-up. Do not pour water onto a grease fire. Close the lid and cut off the heat according to the grill and fuel instructions, or move the food to the safe zone while the fire settles.
Check texture and safety
Ribs are a texture-driven food. A thermometer can help you understand the cook, but the final decision also depends on how a probe enters the thickest meat, how the rack bends, and whether the surface is holding together. Avoid testing only beside a bone or touching the metal, because both can mislead you.
Keep food-safety handling separate from tenderness. Raw meat should stay chilled until preparation, raw-food tools should not touch cooked food, and the finished ribs should be served on a clean platter. Follow current FoodSafety.gov and USDA FSIS guidance for safe temperatures and handling. A tender rack is not automatically safe if it was held carelessly before or after cooking.
Rest and slice with a plan
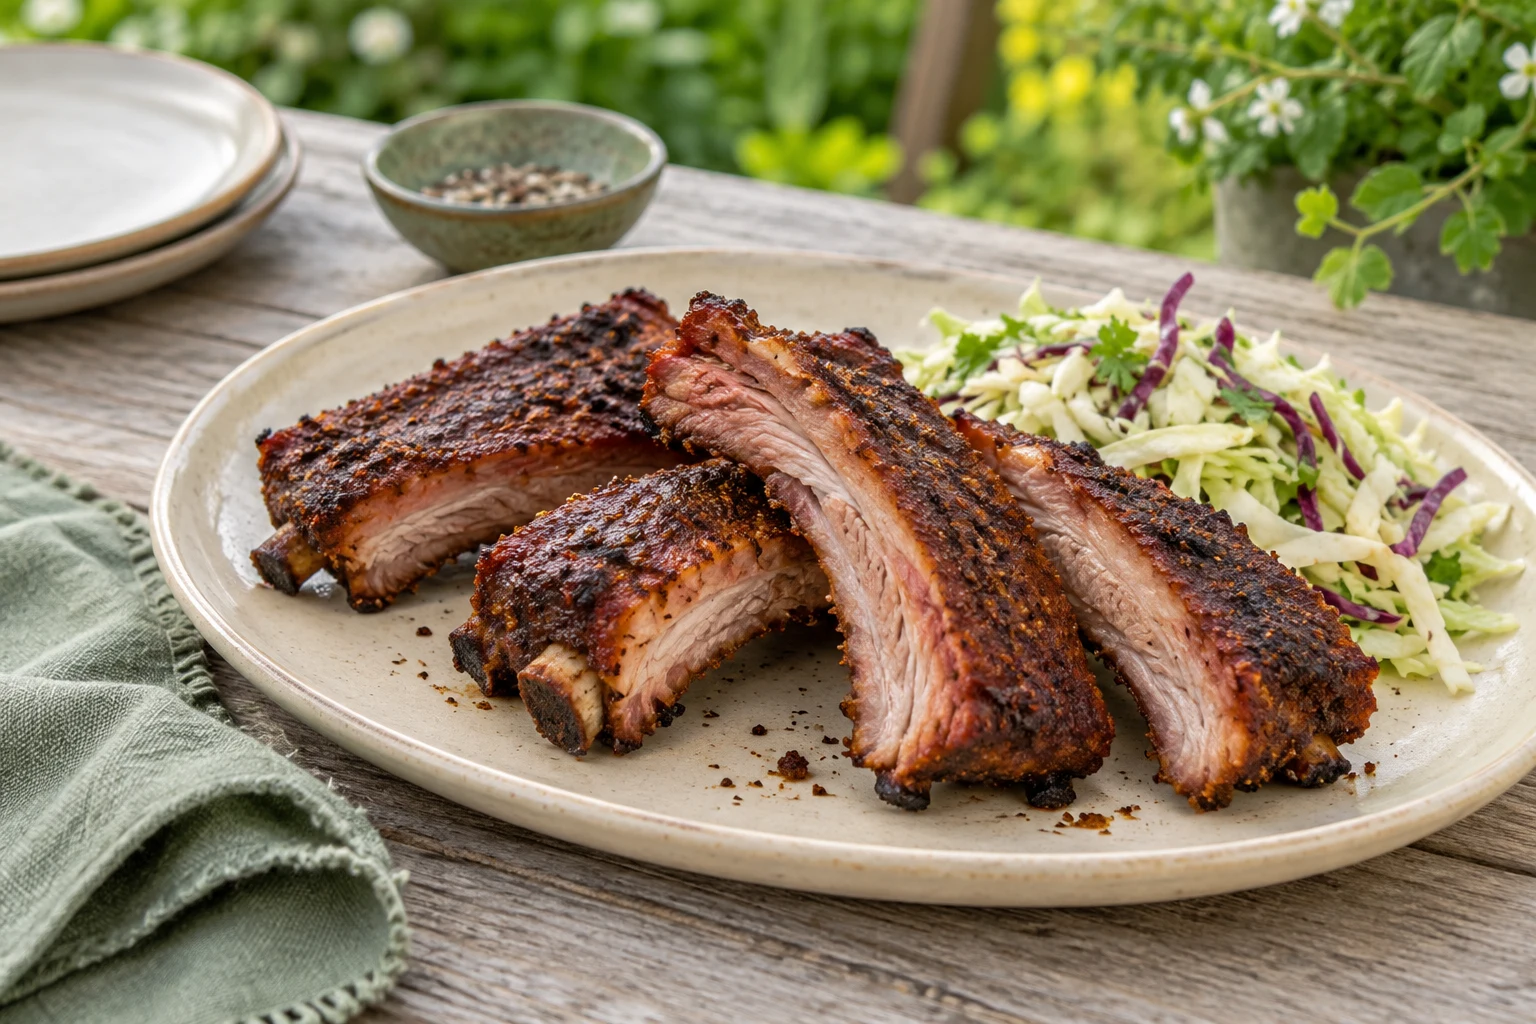
Rest the rack briefly after it leaves the grill. The surface heat settles, and the meat is less likely to lose its juices immediately when sliced. Place it bone-side up or down according to the cut lines you can see. Use a sharp knife and slice between the bones rather than sawing through the centre of each bone.
If the ribs are tough, the most likely correction is more time at a stable indirect heat. If they are dry, reduce the hottest exposure, improve lid discipline, or choose a meatier rack. If the outside is bitter, use less smoke and avoid burning sauce. If one end is ready and the other is not, improve zone placement and rotate once rather than cooking the entire rack over direct heat.
Make the next cook easier
Record the rack type, approximate weight, fuel, grill temperature range, time in indirect heat, wrap decision, and texture at serving. Note where the hot spot was and whether the lid thermometer matched the grate. Change one variable next time. A grill can teach ribs without expensive equipment when the fire is divided into zones, the lid is treated as a control, and tenderness is judged from the food rather than a memorised schedule.
Sources
- FoodSafety.gov Safe Minimum Internal Temperatures: https://www.foodsafety.gov/food-safety-charts/safe-minimum-internal-temperatures
- USDA FSIS Safe Temperature Chart: https://www.fsis.usda.gov/food-safety/safe-food-handling-and-preparation/food-safety-basics/safe-temperature-chart
- FoodSafety.gov How to Grill Safely: https://www.foodsafety.gov/blog/how-grill-safely-summer