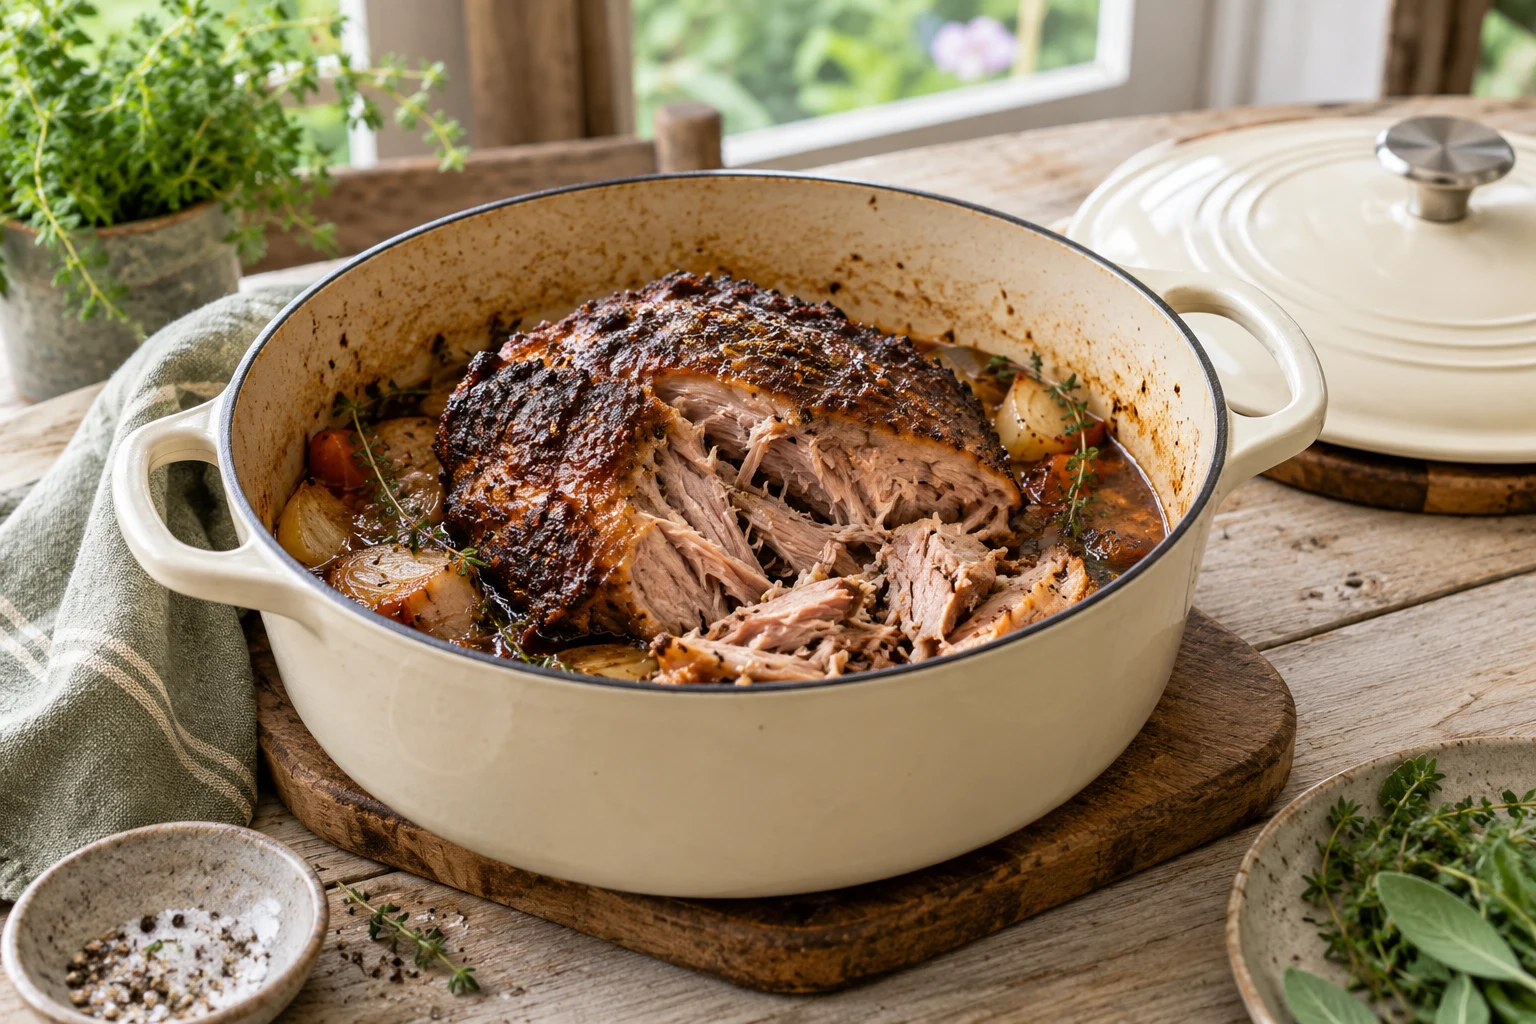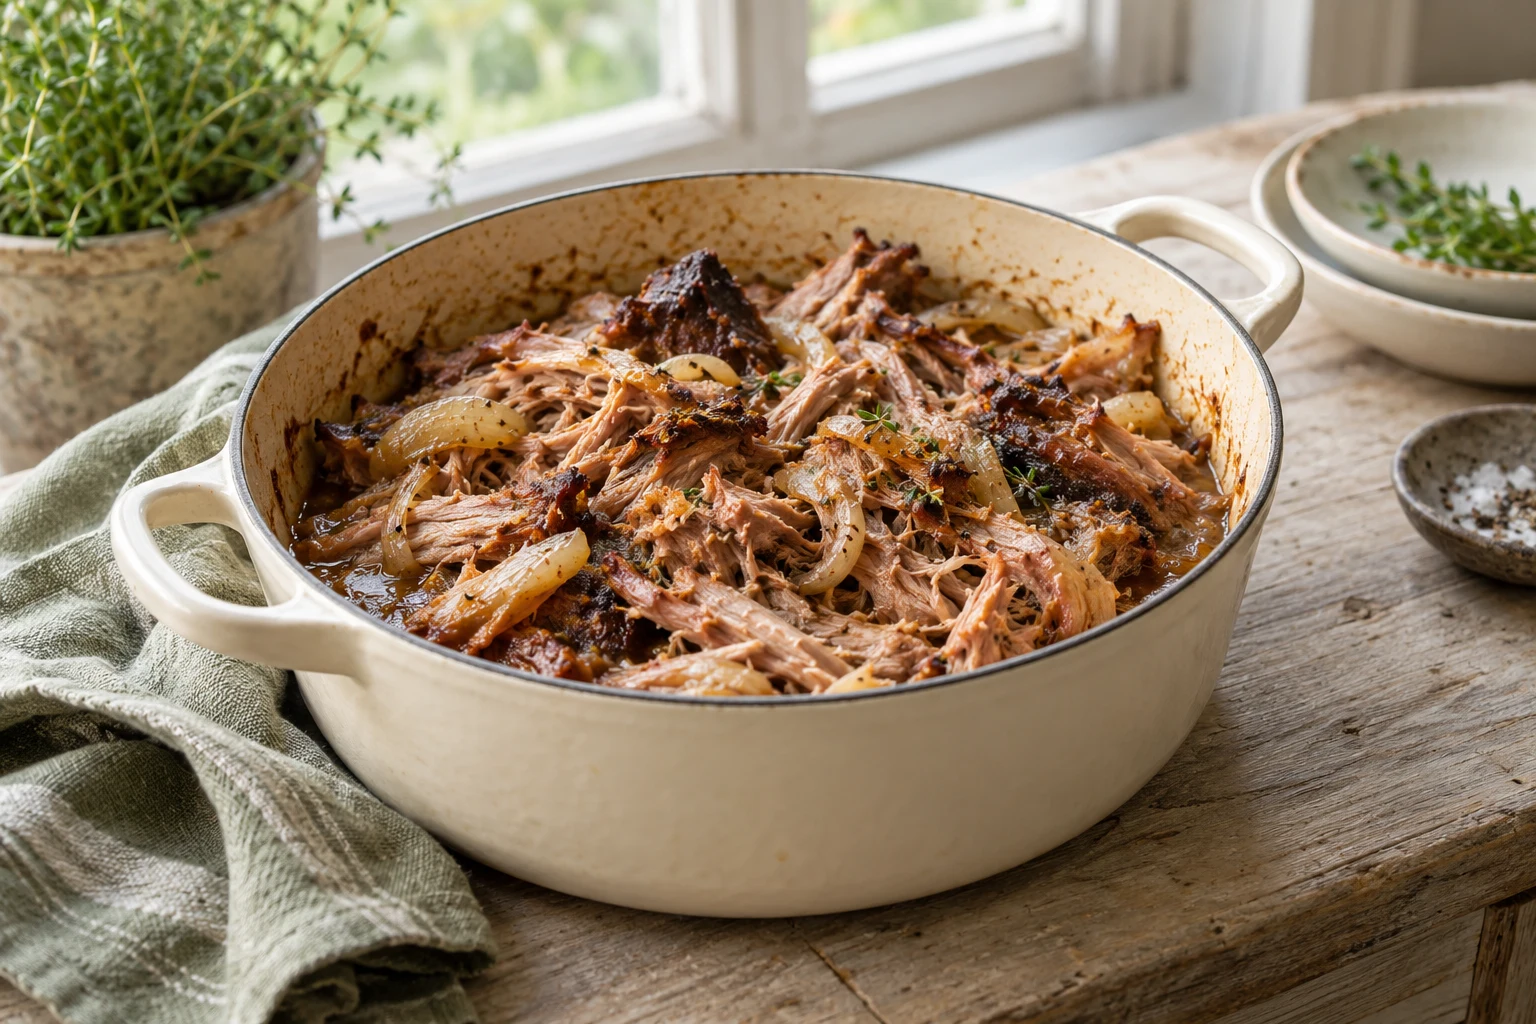
Pulled pork does not require an offset smoker, but it does require the logic of a long, protected cook. A covered grill, oven, Dutch oven, or combination of heat sources can soften a pork shoulder if the temperature is controlled and the surface is protected. The goal is not to imitate smoke that is absent. It is to create tender meat, a useful crust, and a safe schedule with the equipment available.
Choose the cut and the method
Pork shoulder or Boston butt contains connective tissue that can become tender over time. A smaller piece fits a home oven or covered grill more easily but may dry faster. Trim hard fat and loose pieces, keep enough protection for the long cook, and season the surface evenly. A dry rub can provide crust; a sauce can be added after the meat is tender.
Decide whether you want smoke, roasted flavour, or a neutral base for sauce. A small amount of safe cooking wood may be used in an approved outdoor setup, but do not create a dangerous indoor smoke system. If using an oven or Dutch oven, accept that the result is braised or roasted pulled pork rather than smoked pork. Honest naming makes the method clearer.
Create steady indirect heat
A covered grill needs a two-zone setup. Put fuel on one side and the pork on the other, then close the lid. A gas grill can use an unlit burner under the meat. An oven should be preheated and stable. A Dutch oven can provide moisture and even heat but will not create a dry bark unless the meat receives an uncovered finishing stage.
Use a thermometer at the cooking surface when possible. Avoid opening the lid or oven repeatedly. Each check releases heat and extends the cook. If the temperature is low, adjust the heat source gradually. If it is high, reduce the source or move the pork away from direct heat. The meat needs a stable environment more than it needs a dramatic initial temperature.
Build flavour without smoke
Dry the surface before seasoning. Salt, pepper, paprika, garlic, onion, and measured sweetness can create a savoury crust. Sugar can burn over direct heat, so use it carefully and add sweet sauce late. Browning from a hot pan or a short grill finish can provide a deeper surface before the long cook, but do not burn the rub in the process.
If using a Dutch oven, add enough liquid to prevent scorching without drowning the meat. The liquid can become a sauce, but excess moisture softens the crust. For an oven or covered grill, use a small amount of liquid only when the method requires it. The outside should remain protected while the centre has time to soften.
Manage the slow stage
The cook may slow as moisture leaves the surface. Do not respond by raising the heat dramatically. A hotter cooker can dry the edges while the connective tissue remains firm. If the surface is dark enough, wrap the pork or cover the vessel. Wrapping speeds the cook and protects the surface but reduces crust dryness.
Check the pork at intervals rather than according to a rigid hour count. A thermometer can show progress, but tenderness is the finish signal. The probe should enter the thickest parts with little resistance, and the meat should pull into strands after resting. If it is firm, continue at stable heat. If the outside is dry, improve protection rather than increasing the fire.
Keep the food safe
Keep raw pork chilled before cooking and separate raw tools from cooked tools. Use a thermometer and follow current FoodSafety.gov and USDA FSIS guidance for handling and temperature decisions. A long, slow cook does not make unsafe storage safe. Use a clean tray after cooking and cool leftovers according to current official guidance.
If guests are eating, plan a buffer. Tender pork can rest while sides are finished, but a late cook cannot be solved safely by leaving the meat at an uncontrolled temperature. Prepare buns, slaw, beans, or other sides before the pork reaches its final stage.
Pull, sauce, and serve
Rest the pork while it remains protected. Remove large pieces of fat and bone, then pull the meat into strands with clean tools. Taste the meat before adding sauce. A roasted or braised shoulder may need acid, spice, smoke-flavoured seasoning, or a bright slaw for contrast. Add sauce in stages so the meat does not become wet and heavy.
Serve small portions and replenish. Keep cold sides cold and hot food hot. If the crust is soft, finish a portion under a grill or broiler rather than trying to dry the whole batch after it is pulled. If the meat is tough, it needed more time; if it is dry, examine heat, cut size, and moisture control.
Record the adaptation
Write down the cut weight, vessel, heat range, liquid amount, covering stage, probe feel, rest, and sauce. The next attempt should change one variable. Pulled pork without a smoker succeeds when the cook respects the cut's need for time, controls moisture, and describes the equipment honestly instead of trying to copy smoke that the setup cannot produce.
The schedule should include time for the cooker to recover after adding the meat and for the finished pork to rest before pulling. If serving time is fixed, start early and treat the rest as useful buffer rather than trying to shorten the final stage with an uncontrolled fire. A stable cook is easier to serve than a rushed one.
Sources
- FoodSafety.gov Safe Minimum Internal Temperatures: https://www.foodsafety.gov/food-safety-charts/safe-minimum-internal-temperatures
- USDA FSIS Leftovers and Food Safety: https://www.fsis.usda.gov/food-safety/safe-food-handling-and-preparation/food-safety-basics/leftovers-and-food-safety
- FoodSafety.gov How to Grill Safely: https://www.foodsafety.gov/blog/how-grill-safely-summer