A backyard barbecue becomes manageable when the cook treats it as a sequence of small systems: location, fire, food preparation, cooking zones, serving, and cleanup. The main mistake is trying to solve all of those systems while food is already over the heat. A calm barbecue begins before the grill is lit and leaves enough attention for safety and observation.
Choose a realistic first cook
Start with a menu that fits the grill and the time. One main, one filling side, one vegetable, and one sauce are enough for a useful first meal. Choose food that can be checked without constant handling. Thin items offer fast feedback; thick cuts teach indirect heat and patience but need more planning. Avoid several foods with incompatible cooking times until the fire routine is familiar.
Count guests, account for sides, and plan leftovers before shopping. Raw weight is not the same as edible cooked food because bones, trimming, and moisture loss change the yield. Buy enough for the menu, not an imaginary crowd, and prepare safe storage space before the meal begins.
Prepare the location and equipment
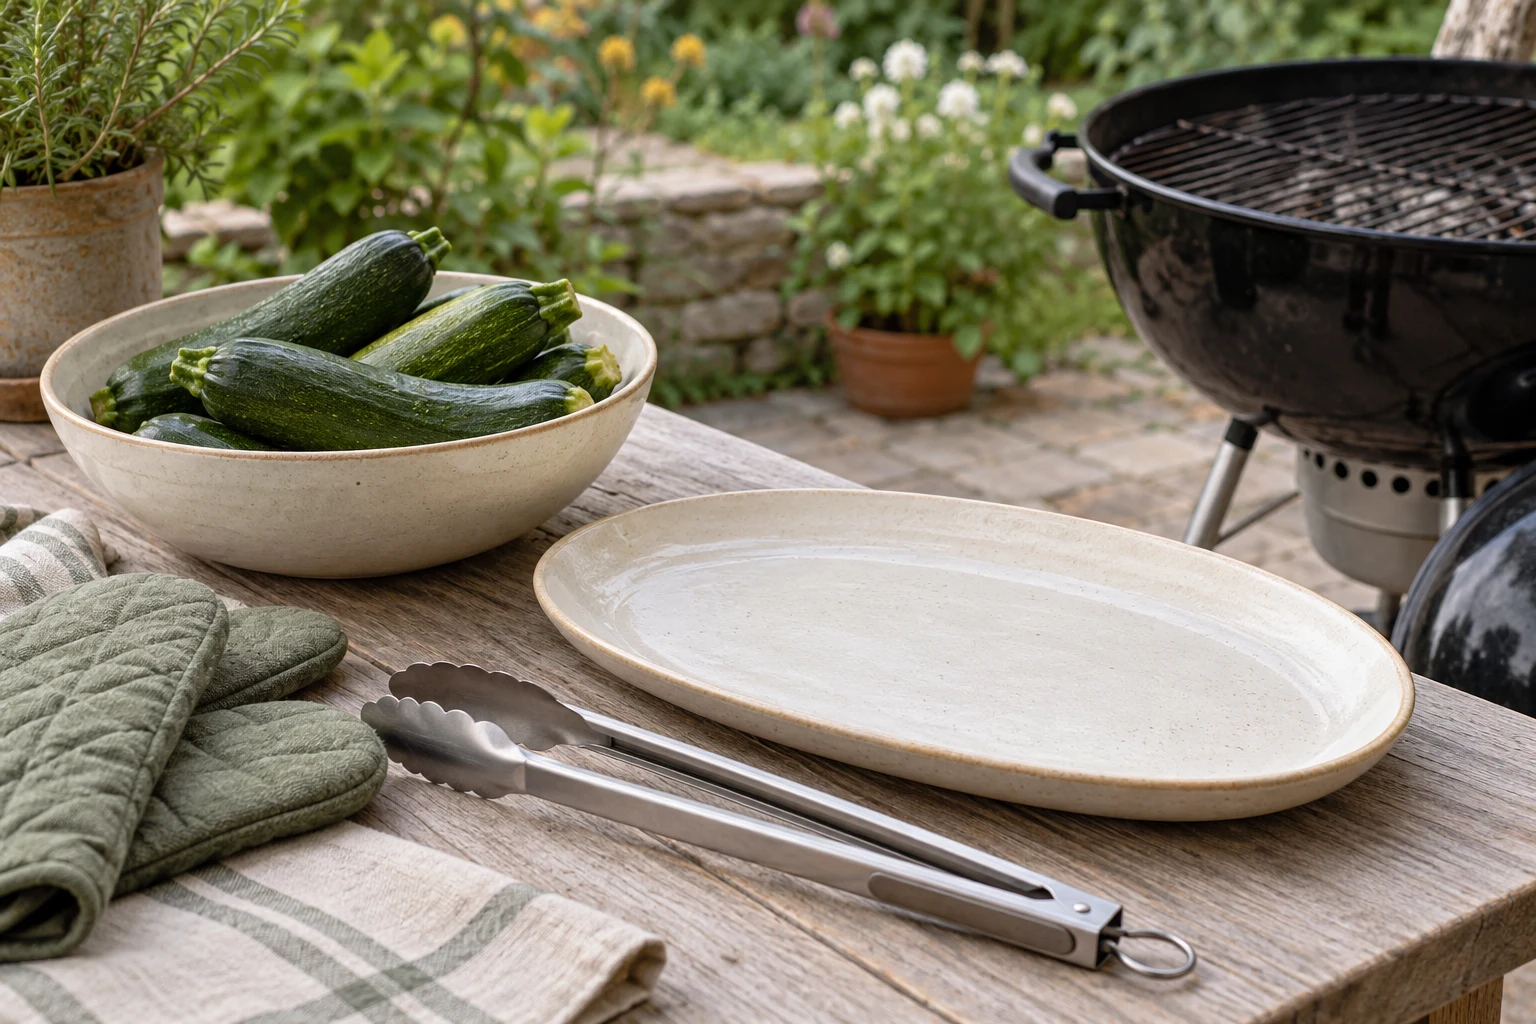
Use the grill outdoors on stable ground with clearance from structures and combustible materials. Check local rules, wind, and dry conditions. Keep children and pets outside the working boundary. Inspect the grate, vents, fuel, grease tray, lid, thermometer, tongs, gloves, and serving platters while everything is still cold.
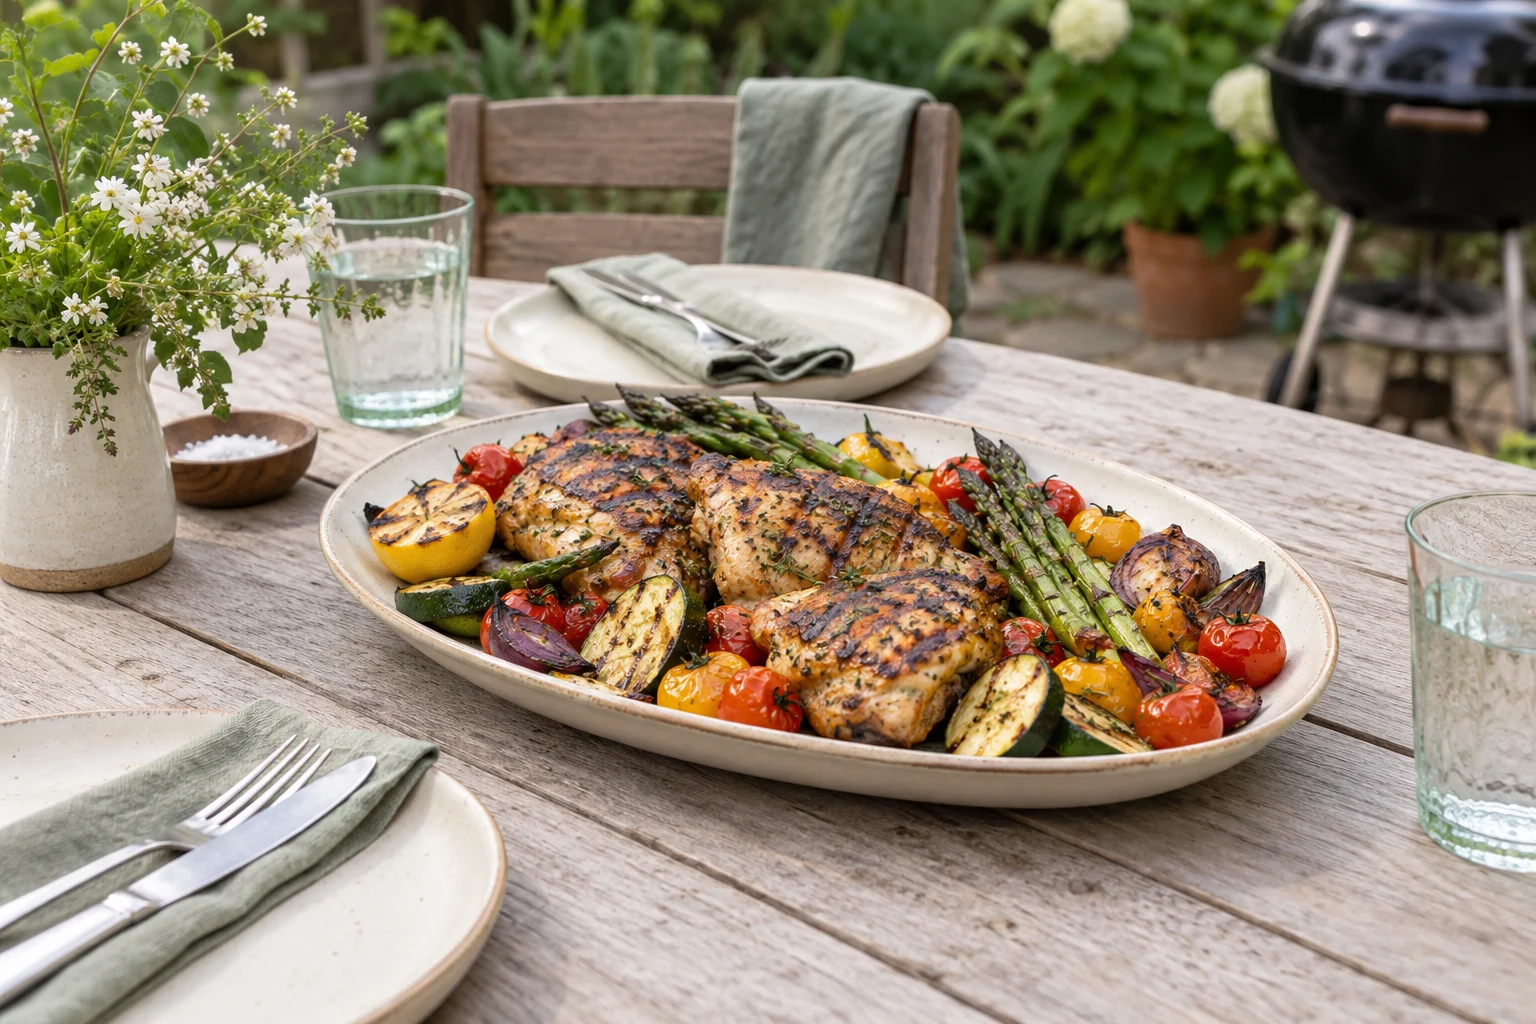
Prepare food, sauces, toppings, and sides before lighting the fire. Keep raw proteins chilled until needed. Use separate trays and tools for raw and cooked food. A clean platter is not a decorative detail; it is the destination for finished food and prevents a raw-food tray from becoming a source of cross-contamination.
Build the fire for the menu
Preheat and clean the grate. Create direct and indirect areas so food can move when the surface is ready before the centre. Gas burners, charcoal banks, and wood embers create different responses, but each setup should have a hot area, a cooler area, and a way to shut down safely.
Let charcoal or wood settle into useful cooking heat before adding food. Heavy white smoke, unstable flame, or a grate that is hot in only one small spot indicates that the fire is not ready or needs adjustment. Make one change at a time and let the cooker respond. Opening the lid repeatedly prevents a stable fire from becoming stable.
Organise the food
Group food by thickness and cooking time. Start thick items over indirect heat or cook them in a first wave. Use direct heat for quick browning and vegetables that benefit from surface marks. Keep a cooler route open for fatty foods and flare-ups. Do not crowd the grate; food needs space for airflow and the cook needs room to turn it safely.
Dry surfaces where browning matters. Apply oil lightly to food rather than pouring it onto the grate. Add sugary sauces late because they can burn over direct heat. Season in a way that suits the cooking time and keep raw-food contact separate from clean finishing ingredients.
Use evidence, not a fixed clock
A cooking time is a planning estimate, not proof of doneness. Observe surface colour, texture, release from the grate, and the response of the fire. Use a food thermometer at the thickest point and follow current FoodSafety.gov and USDA FSIS guidance for the specific food. Poultry, ground meat, and fish should not be judged by colour alone.
If the outside is ahead of the centre, move the food to indirect heat and close the lid. If the centre is ready but the surface is pale, use a short direct finish. If fat creates a flame, move the food away from the heat and control the fire according to the equipment instructions. Never pour water onto burning grease.
Serve and store safely
Rest foods that benefit from settling, then slice or portion on a clean board. Serve in waves instead of leaving the entire supply outside. Keep cold foods cold and hot foods hot, and replenish smaller dishes from protected containers. Follow current official guidance for cooling and storing leftovers; a barbecue is not finished when the grill turns off.
Label sauces and unfamiliar ingredients. Keep raw and cooked utensils separate through the serving stage. If the meal includes guests with different dietary needs, prepare their food and serving tools with the same care as the main dishes rather than treating an alternative as an afterthought.
Review the method
After the meal, record what the fire did, not just whether the food tasted good. Note fuel, weather, zone layout, food thickness, turning points, thermometer readings, and what created stress. If a dish burned, change heat placement or timing. If it was pale, improve preheat, dryness, or direct contact. If the menu was too busy, remove one grill-dependent item.
Backyard barbecue becomes repeatable through small improvements. Clear planning protects safety, two zones protect the food, and observation protects the result. The goal of the first cook is not a perfect photograph. It is a method you can explain and use again.
When the meal goes wrong, separate the symptoms. A pale surface may need more direct contact, while an undercooked centre needs more indirect time. A dry side may need earlier removal rather than more sauce. This habit turns a disappointing meal into a useful record instead of a reason to change every part of the plan at once.
Sources
- CDC Preventing Food Poisoning: https://www.cdc.gov/food-safety/prevention/index.html
- FoodSafety.gov Safe Minimum Internal Temperatures: https://www.foodsafety.gov/food-safety-charts/safe-minimum-internal-temperatures
- NFPA Grilling Safety: https://www.nfpa.org/education-and-research/home-fire-safety/grilling